|
| Lord Agravaine, the player's nemesis |
Oh boy, it has
been awhile since I updated the WFRP4 session recaps. I knew it had been
awhile, but not as long as it has. So there’s no way I’m going to go into the
detail I did before for this post. Instead, I’ll try a bullet point list of the
highlights and then maybe add back in some detail once we’re all caught up.
 |
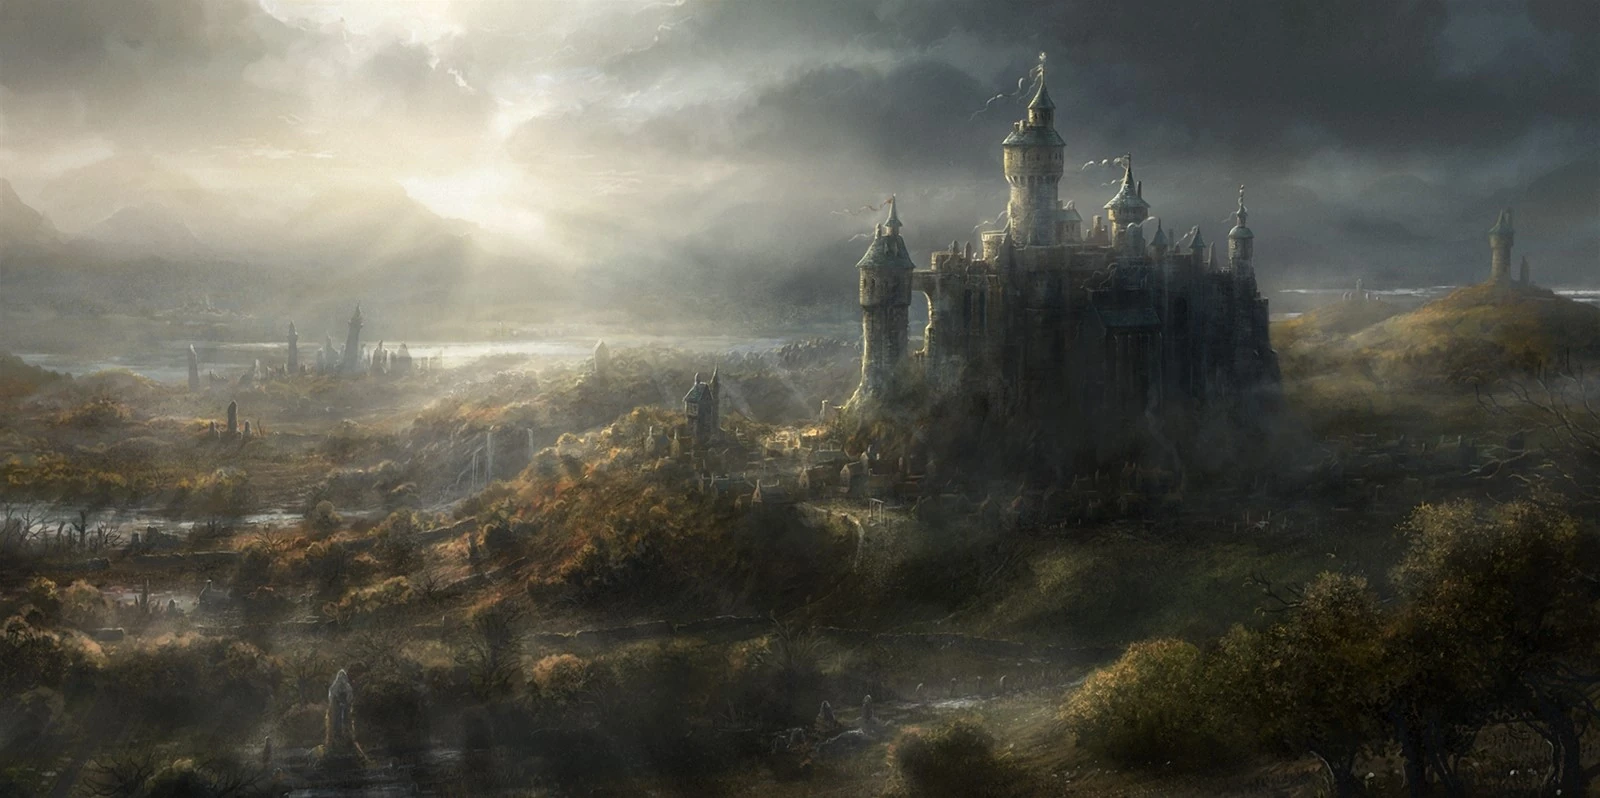
| Map of Bordeleaux |
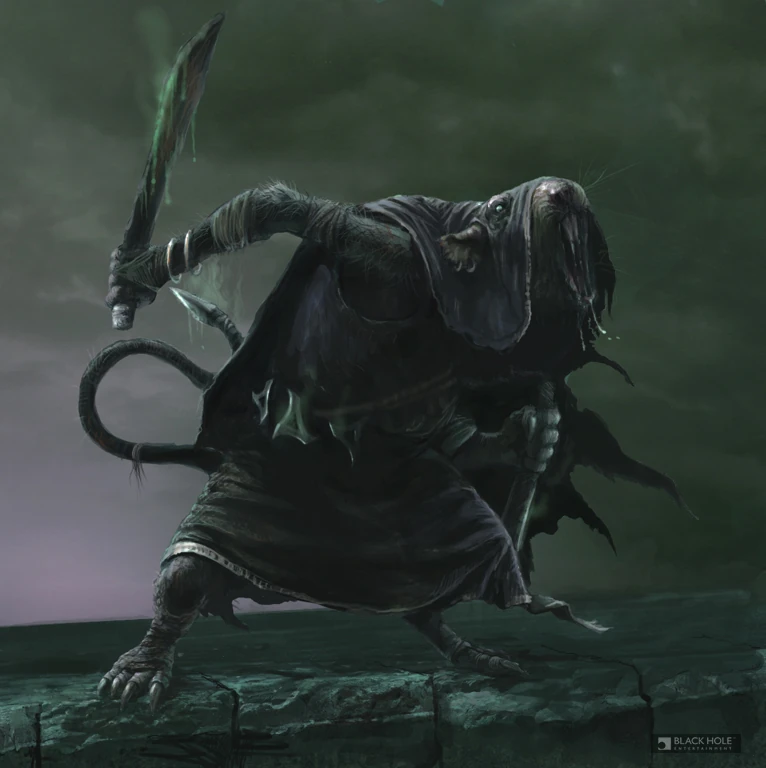
Dramatis Personae
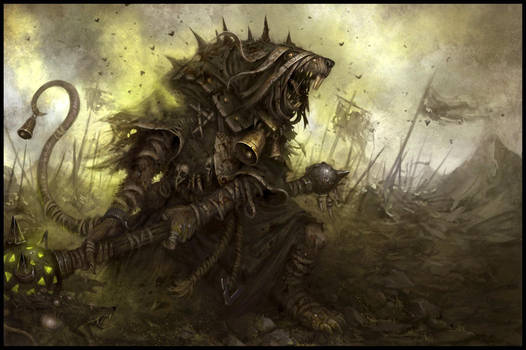
Boneshard, Norscan
Marauder Champion (tier 3 career)
Regis de Pubiens
(nomme de guerre – Don Gonada de Ciudad de … I don’t remember, some estalian
identity)
Onfroy Proudhon le
‘Wretch’ – a new character who joined later.
Events
- As
mentioned, with the aid of a chosen band of knights from Duke Alberich of
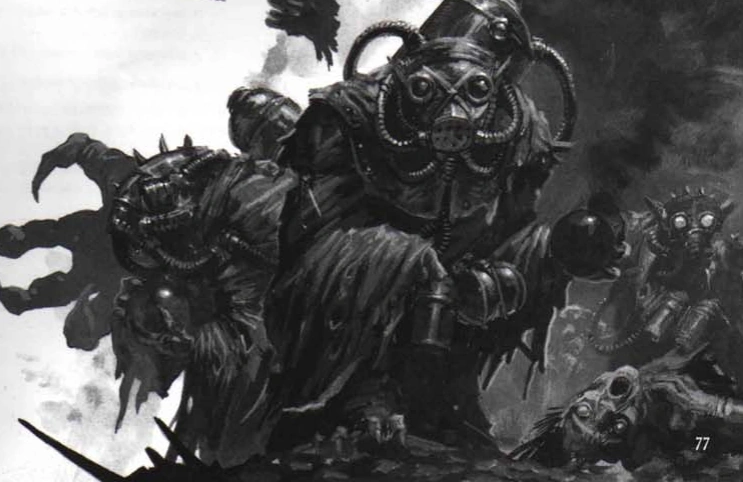
Bordeleaux and four High Elf archers from the Ambassador’s guard, Boneshard and
Regis plunged into the city sewers to find the Idol of Flies and stop the
skaven plans.
- After
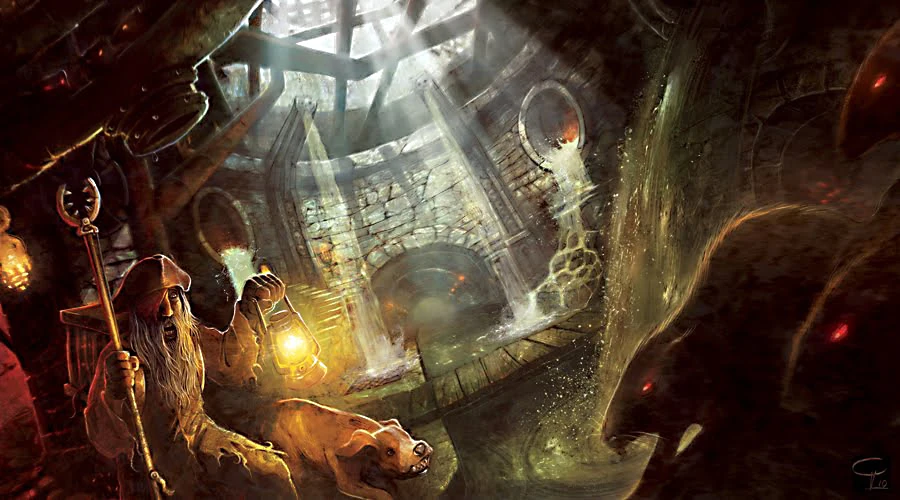
many ambushes along the way, the adventurers made it to a skaven undercity with
a slavemaster’s platform in the center of a market-looking square. From the derelict state of the affairs, the town looked
semi-abandoned but then the group heard a crowd from a distance. Carved into
some old sewers (built by High Elves in Bordeleaux’s far past?) was a large
auditorium. The characters murdered some ratmen guards and snuck closer – there
was a skaven Grey Seer before the Idol, his thousands of ratmen minions
chanting and squeeking. The characters unleashed mayhem, ambushing the Seer
with burning oil flasks and attaining several critical hits. Regis broke his
leg jumping from the rafters to grab the idol, successfully chucked to
Boneshard. Regis is captured while the knights hold off the rodent throng in the
sewer and Boneshard runs out carrying the Idol. They make their way to the
nearest sewer manhole, several passages and rooms past, and with some lucky
rolls, Boneshard escapes.

- Boneshard
makes his way through the streets as whatever skaven have amassed beneath the city
boil out, frantically seeking the Idol. The Duke's men, warned by the characters, fight back, fires spreading throughout the city.
- Regis is captured by the skaven master Grey Seer, now burned. (He spent a permanent Fate point to survive.)
- After resting a few hours, Boneshard finds the Elven ambassador Menilthir who assists in finding Regis and teleporting Boneshard and himself below the streets. Boneshard kills the ratmen guards (and a ratogre), saving Regis
- The group advises destroying the Idol. In a ritual, Menilthir and priestesses assist in melting it down while fighting continues.
- Bordeleaux is saved, for now, though the rats have left behind disease and destruction. Not on the scale they could have unleashed with the Idol.
- After doctors' care, Boneshard and Regis now seek to save the cursed duke having destroyed the Idol of Flies and so travel to Castle Aquitaine.
- In the wilds on the journey, Boneshard receives a dream vision of a herdstone - with a large and powerful sword leaning against it.

- Boneshard finds the beastherd, to Regis's dismay. He defeats the minotaur champion of the beastherd and the beasts bow to him. This lets him claim the sword, which now speaks to Boneshard in his mind. Regis goes along with the situation, but works with Boneshard to find a place for the beastherd to be wiped out in their raiding and rapine of the local Bretonnian towns. After gaining much corruption, the beastherd is drawn into a village which Regis prepared to defend itself a few hours before, and Boneshard cuts down the beastman shaman. Boneshard keeps the Sword of Souls.
- [DM note: Boneshard and Regis both gained much corruption in this episode. Boneshard's earlier acquisition of an enchanted bone necklace that summoned worms provided the pathway for the chaos sword to enter his mind and tempt him.]
- The duo emerges from the woods and soon finds Castle Aquitaine, but besieged by Lord Agravaine's host. They manage to signal a knight riding a pegasus and make it into the castle to tell Duke Armand's council their story of the Idol and that its destruction should free the Duke from the curse. The Damsel of the Lady, Dame Helvis believes the adventurers and lifts the magical slumber from the Duke. He is indeed no longer cursed. A new plan emerges: the adventurers will take their pages from the sorcerer's grimoire, captured in Castle Greemley many moons before, and letters from Agravaine to him and the summoning a pestilent demons to the King of Bretonnia, to formally accuse Lord Agravaine of sorcery. The Duke Armand, honor bound to defend his seat and his loyal men, will stay to fight off Lord Agravaine.
 |
| Castle Aquitaine |
- [DM note: I made extensive siege rules if the adventurers had stayed, but they decided to come up with this plan of traveling to the King and I said to myself, that works.]
- With Sir Jaspert, the pegasus rider, Boneshard and Regis travel by flying horseback to the north. Then suddenly they are attacked in the sky over the Forest of Chalons near the western mountains of the Massif Orcal by a griffon, who slays their pegasus and they crash into the forest.
 |
| actually a lammergeier getting territorial with a vulture, but too cool not to share |
- after crashing in the Forest, they encounter a traveling ne'er do well named Onfroy Proudhon le Wretch, wearing a wig on a horse. He was searching for work before getting lost in the forest after a drunken spree with a bard named Jarlyle.
- The now three encounter a giant stag with many antler points, which speaks in their minds as the "King of the Wood." He will grant safe passage to the hungry travelers for removing an encampment of lumberers from the woods.
- Led to the camp of lumberjacks, Onfroy immediately accosts them at their palisade gate. They shoot arrows, yelling that they are free men not serfs of Onfroy. Armed with his Soul Stealer, Boneshard and Onfroy make short work of the 15 or so woodsmen who resist with but axes and gambesons. They take a few prisoners as slaves, and are allowed to leave the forest by the King of the Wood. They pass a troll crossing, slaying one of the river trolls.
- [DM Note: I did not expect their aggressive posture to the woodsmen to go so smoothly for them, but if you don't roll a critical, your PC got the Frightening trait, and they have some good rolls, they can carry out quite impressive feats. They also made short work of the trolls, which I forgot to use the surprise for.]
- The lord of the nearby manor allows the adventurers to stay as guests, as they reveal they are on an errand for the king with a known knight Sir Jaspert. They recover from the encounters in the woods and prepare to head north. They consider buying horses but do not have enough coin for Boneshard to have a horse.
 |
| Boneshard had gotten pretty ridiculous at this point |
- They come to a monastery, really a nunnery, a few days travel to the north as they head for Gisoreux. Outside it's wall, a knight awaits with a lady nun. He challenges Boneshard to single combat, as she has had a vision of an evil and corrupted Norscan who should be slain. Boneshard agrees, and is badly wounded in the charge. Onfroy decides to attack the knight, seeing things going badly. Jaspert, horrified, steps in on the side of the Lady. Boneshard slays the knight, but Onfroy is blinded by the nun's prayer. They reach an agreement not to kill the nun to be left on their way. Jaspert refuses to travel with these men any longer, and takes the nun back to the monastery shrine.
/https://public-media.si-cdn.com/filer/06/2f/062f0798-d60d-4105-a038-f6dffed3f3b0/tatev_-_creative_commons.jpg)
- The party soon makes it to Gisoreux, bribing their way past the quarantine order on all southern travelers. While at an inn, they discover a man spying on them, having been paid good coin to report tales of a traveling Norscan and his companions, including an Estalian. They slay the man in an alley, then confront the innkeep if he has any knowledge. Onfroy, drunk, decides to stab the innkeep for the coin he demanded for his information not being good enough for Onfroy. All hell breaks lose, Onfroy tossing an illegal petard onto the doorframe soon after the local guards arrive. The Duke of Gisoreux's men-at-arms arrive soon thereafter. After much butchery and the use of flaming oil, the adventurers manage to escape. But they were spotted by the knight commanding the city men-at-arms.

- They steal a boat and collapse, exhausted in the slums outside the docks. Here they are taken in by the stevedores guild. Sometime around then Boneshard has used the chaos sword enough to develop a mutation, scaly skins granting 1 armor point. He was also having dreams of travelin to the Chaos wastes and becoming a mighty champion by slaying a chaos troll. The scales marked him as chaos-touched.
- With her stevedores and spies in the slums of the docks, the Guildmistress Adele finds them, smiling to find Boneshard is chaos-touched. She offers them hospitality in her hall and revealed her interest in certain grimoire that spoke of opening a portal to the Realms of Chaos by orgiastic ritual. Sure enough at the full Morrslieb moon she brought Boneshard down to her secret temple to conduct a ritual with her and her cultists. During the orgy, Boneshard mutates further, growing spikes from his scales.
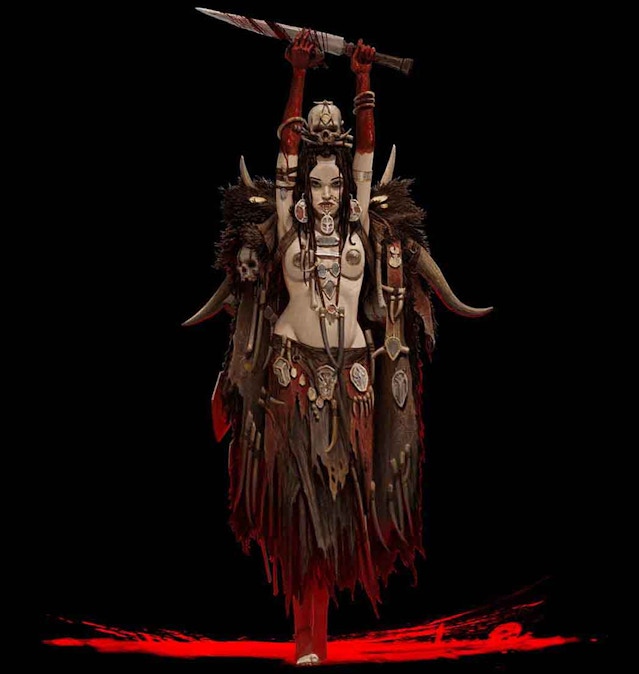 |
| Adele at the ritual |
| Boneshard's spikes, approximately |
- Boneshard dons a large helmet and black cloak to hide himself in public. The companions then decide to follow up on some leads, but end be drawn to near the Hall of Justice in the main Gisoreux square. Realizing they've been tricked, they knock out the investiagotr, but everything goes sideways for the adventurers. A general "hue and cry" is raised, and all within the city are mandated to grab weapons and seize the companions. Men-at-arms are assembling in the square. While distracted, somehow Regis steals Boneshard's blade as the adventurers scatter to the four winds running away.
- Separated, Onfroy and Regis make their way to the Stevedores Hall. Regis decides to set it afire to burn out the heretics, while Onfroy gets involved in a duel with a Hall's guard. Onfroy slays the guard, and before being found by a knight leading a continegent of men, they hide in the back alleys and escape.
- Meanwhile, Boneshard has been trapped on a main street by a large force of men-of-arms and knights. He throws down a burning oil flask as he is hit by several arrows. Three knights charge him, and he takes a lance wound as well. Bleeding, Boneshard cuts down a knight and intimidates the others. Then a mighty knight on a black destrier, his silvered armor fine and filigreed, leaps over the flames. Boneshard challenges him to one on one combat, which the knight accepts and combat is joined. Before his lance reaches Boneshard, however, Boneshard calls upon the dark powers to smite his foes, and knight's helmet crumples and he falls from the horse. Boneshard gathers the body, dragging him from the city as the gate's guards are too frightened to stop him.
- [DM note: through a long discussion with player badgering, I let Boneshard's player spend a permanent Fate point to kill the knight with a bunch of corruption points rather than merely save his own life - he would have died had he taken much more and was already burning Resolve to stop his bleeding critical.]
 |
| An impressionist rendering of Boneshard v. the knight |
- That night, the companions tried to escape through the villages and hamlets ringing Gisoreux. They heard the howls and yelps of hounds and hoofbeats as the city gathered some force to find them. The companions successfully hid but abandoned the captured knight's body. They made refuge outside a village and found a deer for meat, but were soon found by some local knights, who they killed and stole their horses. Having been found, they decided to resume their quest to find the King in Couronne and resumed travels north.
- After getting lost in the ravines and valleys of the River Oise in rainstorms, the companions find the royal road. Exhausted, beset by a pack of wolves, they make their way to the village outside the Castle Dragonsbridge, which bridges the Oise in the mountains of the Pale Sisters. Winter had fallen and so the snows had come to the mountains.
 |
| Dragonsbridge |
- In a tavern in the village beneath the mountain and castle, the characters take a room for the night and stable their stolen horses. With a knock at their door, a stranger introduces himself as Ferregus. He offers the characters a deal, but also a warning: the Lord of Dragonsbridge has been tipped off and is sending men. The characters escape and make their way to Ferregus's mountainside cave. There he offers them a bargain: he needs a key from Dragonsbridge to free a slumbering dragon beneath the mountain, and in exchange will aid the adventurers in any of their goals, as he will be a powerful Dragon Master.
 |
| what slumbers beneath the mountain? |